Hello Ladies!
I am posting this months focus for our weekly group. Remember that your project can be anything but try to incorporate any stamp set with the focus within the project! I look forward to working on all the creative projects you bring to the group!
July 6--Animals
July 13--Sympathy
July 20--Birthday
July 27--invitations
Also, please note that the July 31 date has been taken for a Memory Board Workshop at my home. Class fee is $5 and I will provide the batting for you. Please bring your other supplies:
16X20 artists canvas
1 yard of fabric (your choice)-and press it!
Coordinating ribbon approx.5-6 yards and you may mix n match
Large brads/buttons/embellishments
Staple gun with staples
Sewing thread/needle (if using buttons)
If you have any questions feel free to contact me and I will be happy to help you out! Have a wonderful day! xoxo
Saturday, July 3, 2010
Friday, July 2, 2010
Check out the new catalog!
Hello everyone!
Please be sure to check out the new 2010-2011 Stampin' Up catalogs (click on the images to the left) as they went live yesterday! Oh my gosh, it is beautiful! There is so much to see and so, so many project ideas! I have catalogs on sale for $5, so contact me to get yours! Don't forget my Open House on July 17 from 1-5 pm. I will have Make 'n Takes, goodies to give away , and drawings for giveaways! Christmas in July Stamp-A-Stack is July 24 from 1-5 pm. RSVP for this event! You will make 36 cards (12 ea. of 3 designs) for $25. There is a non-refundable $5 fee and $20 due at the event. Email me if you have questions! I hope to see you there!
Also, I am in the process of making card kits to post on my blog. Then you may purchase them online from my site. It is a bit lengthy to put together (the card kits) but eventually I will get there! If there is a card kit, invitation kit, or themed kit you would like to see available, send me a comment and I will get to it asap! Be sure to become a follower so you won't miss any postings!
Blessings!
Lynnette
Saturday, June 19, 2010

Friday, June 18, 2010
Trees, Trees, and more Trees...and welcome, Wanda!

Posting for June 8th!
So here are the cards that we made when our focus was trees. Jan was unable to attend but managed to get her stuff here so that we could still make her project. What a devoted stamper!! We had a new guest, Wanda! I wanted to welcome hr to our Tuesday Morning Stampers support group. Wanda is an avid scrapbooker and talented, too. I was lucky enough to see some of her pages with that beautiful grand baby of hers. She's too cute and very photogenic I might add! Kathy thought it would be fun to try brayering....thought it would be fun. Wanda and I managed to fumble up our cards a bit but the great thing was that Kathy predicted that and gave us extra cardstock --just in case! Yes, we needed it but the result was in fact a beautiful brayered card! We did use the medallion stamp which is beautiful alone anyway. Jan, of course, made 2 cards that were both beautifully done with of course, her favorite color, Always Artichoke. My card was the red and black Christmas card. I got this idea from my upline when we went to San Antonio for a regional conference. Had a blast there! Well next time is 4th of July! See you soon! xoxo
Happy Stamping!
Happy Birthday,Kathy!


May 28th was Kathy's birthday! So, we decided to have another get together and have a surprise party! We had some special guests that were able to attend, Liz and Paula, so it made her surprise party even more surprising! We made some projects just for fun--no focus--and here they are! Hope you like them and enjoy! xoxo
Flowers


Todays focus was all about flowers! Jan made a really cute card with a sunflower as the focal point. We broke the fibers and then split the cardstock in the middle to give the look of multiple layers! Kathy had the great idea of "accordion" folding flowers. This one is with the dragonfly on it. Yeah, so mine did not turn out the way it should have but it was a hilarious experience! We will not give up but keep practicing to conquer this technique! I made some cute rosettes from a die that Kathy had purchased. We ran it through the Big Shot, twisted it on a bamboo skewer and there you go, instant roses! These are sure to be cute on any card! xoxo
Happy stamping!
Envelopes...who knew they could be so versatile!


Ok, so I have a wonderful group of ladies that come to stamp on Tuesday mornings from 9:30 am to 4:30 pm; henceforth, the name "Tuesday Morning Stampers". Anyways, I give them a focus to work on and they (and I!) have a week to come up with an idea to share with the group. This weeks focus was envelopes. Here is what we came up with. Jan created 2 types of pouches using the regular size mailing envelopes and a standard size A2 card envelope. Cute, cute, cute! These are great to insert a pouch of instant hot chocolate, wrap with a cute bow and voila!...an "instant" gift! Kathy created a cute pouch (this qualifies as a pouch!) made from a 12 X 12 scrapbook sheet! How stinkin' cute is that? And, I actually used this idea for Lilybug's treat bag for her birthday! One less thing for her mama to worry about, right? They were a hit! They were filled with crayons and candies, of course! Then I did 2 treat bags made from a letter size envelope and cut in half! This is great for little office treats to give away or for when you just need a small gift bag for a small item that would otherwise get lost in a huge gift bag! I also showed the ladies how to make an envelope with tissue paper and freezer paper! However, you do need to think about the placement of your template FIRST- as you can see, the thought came to me afterwards- then you cut out the template from the tissue! Works much better that way! This envelope is mailable as long as you have a white mailing label for the return address and mailing address! Fabulous, no? Better than plain ol' white, I think! Anyways, I hope you like them as much as we had fun making them! By the way, this was from May 18ths meeting! xoxo!
Time has seriously flown by!
Oh my gosh! I just have not had the time to post but I am getting my pictures ready and I will post what we have been working on! It's coming, it's coming!
Lynnette
Lynnette
Monday, May 10, 2010
Variation to Mothers Day Card

My sister, Lorena, loved this variation of the Mother's Day card that we made at the class; so, you can pretty much figure out what kind of card she will get for Mother's Day! The flower was punched out of an old book using our scallop punch. Lovely!
xoxo,
Lynnette
May 8 Stamp Class!


Here are the cards that we made at the stamp class! The top card is the gift card holder. The gift card sits inside the top portion of the card. The second card is the graduation card and the third is the Mother's Day card! I hope that you like them! Thanks to those of you who attended the class! I hope to see you at the next one...be on the lookout for details! xoxo, Lynnette
Monday, April 26, 2010
Sneak Peek #1 for Stamp Class on May 8th!

Here is a sneak peek of a card we will be making at the Stamp Class! Be sure to respond to your invitation asap. Seating is limited! If you'd like a friend to participate, call/email me and let me know the guests email address to send them an invite! There is a gift for you and your paid guest not already on my list. Call or email me if you have questions or need information. See you soon!
Wednesday, April 21, 2010
Class of 2010
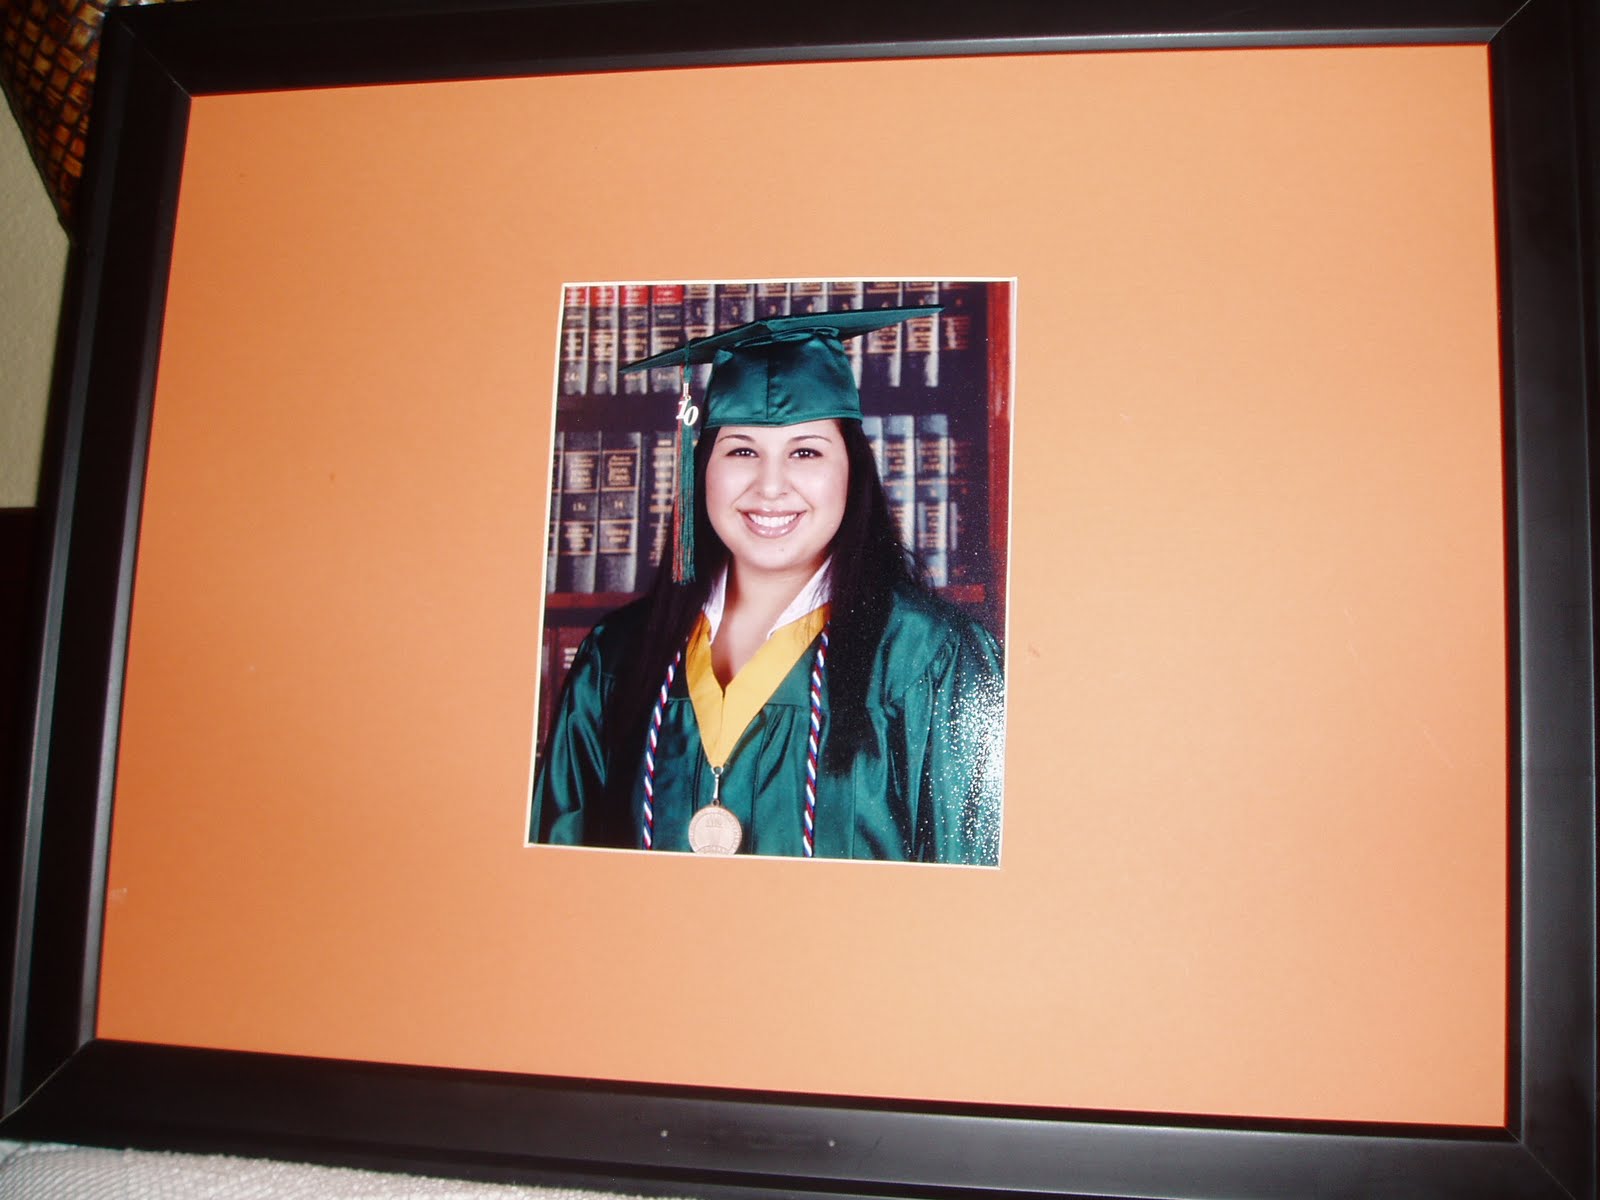 I did it! Well, she did it but I just made the Signature photo frame! This is the perfect idea for guests to sign at a graduation party/event and write their well wishes for the graduate. FYI- yes, this is my daughter, Christina and she is graduating in May. Woo hoo, 2 down and 1 to go! xoxo
To market, to market....
In case you are wondering where I create my projects and prepare for market days, I am posting a picture of my office, a.k.a. My Alley Shop. I love my office space but for those of you that really know me, you know that my brain wanders and works on several projects at multiple times and therefore, my "stuff" is actually all over the house! But this is where the actual "stuff" is stored and put neatly away (sometimes!) ;) xoxo!


Matchbook Post-Its

These were really cute and simple to make! They didn't even make it to Market! They sold super fast! I think I will do this at a stamp camp! What do you think? If I get enough response I will hold a class for this project. Leave a comment if you'd like to attend.
xoxo
Thursday, April 15, 2010


Valentines Day Projects and more!


Getting ready for Market Days was busy! I found some inexpensive tins and decorated them with stickers. I filled each one of them with a set of 8 blank note cards and matching envelopes! There were so many and I just loved everyone of them! I stamped the envelopes to match the cards. (The envelopes are plain french fry bags!) I hated to see them go....but $$$$ and then I got over it! Anyways, here they are.
Easter Card Swap

At our monthly SU meeting, we each make a card front to swap. This was mine and my inspiration was my Grandmother as purple is her favorite color- well actually lavender- but I thought that the color combination would be great for the card swap. Happy Easter!
Stamps: Dream a Little
Inks: Elegant Eggplant
CS: Perfect Plum, Barely Banana, Pretty in Pink, Whisper White
Accessories: Stampin Pastels, Lg. Oval Scallop punch, crimper, ribbon, ticket punch
Daisy Wedding Favor

Some close friends are planning a wedding and they have navy blue as their color with a daisy flower as well. They asked me to come up with an inexpensive wedding favor they could use at the reception hall and this is what I came up with. It is a pillow box with an embossed flower and a daisy hot glued on top. Sheer ribbon with satin lining always addds an elegant, finished touch! Fill with your favorite candy or almonds and you're set to go! Enjoy!
CS: Night of Navy, Whisper white
Accessories: Big Shot, embossing folder, flower tops, ribbon
Cute and quick gifts

Sticky note holders are really cute gifts to give to your co-workers! Here are some that are also going out to market days. Hope you like the colors!
Stamps: Tiny Tags
Inks: Pacific Point, Crushed Curry
CS: Pacific Point, Yoyo Yellow, Whisper White
Accessories: embossing folder, Big Shot, Tiny Tags punch, ribbon (non-SU)
Memory Boards

Here's a different project this time. Memory Boards! I'm getting ready for Market Days in Harlingen and I'll have these for sale there for $12.50 each or 2/$20. If you're interested in purchasing some, let me know! Limited quantities and patterns, first come, first served! But here is a finished one! Too cute!
Happy Birthday, Chambie!

Here's a quick masculine birthday gift I made for my cousin, Chambie. Who couldn't use thank you cards, especially as an Administrator, right? I hope you all like them!
Stamp set: Lovely as a Tree, Much Appreciated
Inks: Soft Suede
CS: Very Vanilla, Soft Suede
Accessories: Gold embossing powder, heat tool, embossing buddy, sponges
Thank You cards


So, we had the insurance adjuster come out to the house for an assessment and I had my stuff out and it caught his attention. No big deal, right? Wrong! He ended up ordering 100 thank you cards from me! Woo hoo! So he requested just navy colors and a simple cross. This is what the outcome was and I am happy to post that he was very pleased as was I!
Stamp set: Refuge and Strength, Much Appreciated
Inks: Night of Navy, Whisper White
CS: Night of Navy
Accessories: White embossing powder, heat tool, embossing buddy
Note Card

Here is a quick criss cross note card I made last night. Hubby gave it a thumbs up! Wooo hooo!
Stamp set: Whimsical Words
Inks: Close to Cocoa, Dusty Durango
CS: Soft Suede, Dusty Durango (tab)
DSP: non-SU
Accessories: Very Vanilla Taffeta Ribbon, Round Tab Punch, sponges
Subscribe to:
Posts (Atom)